|
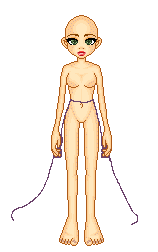
Add a layer to your doll and name it skirt or whatever you may desire. With the dropper, select the darkest color
from your pallette. With the brush, size 1, draw the outline of your skirt.
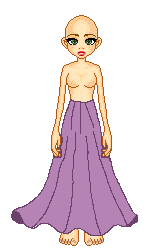
Now highlight the inside of the outline of the skirt to get the marching ants. Select a color from the middle range of
the pallette to be your base color. And flood fill the area.
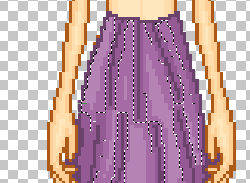
With the wand tool selected, re-set the settings to RGB value, tolerance 0. Select on the base color in the skirt. You
should have only that color highlighted. Go to selections, modify, select similar to select all areas with this color.
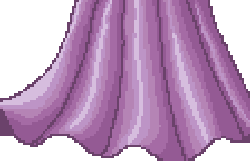
One last time, deselect then with the wand at the same settings, select the colro you just painted on the skirt. Now get
the lightest color of your pallette on your brush and with the brush at size 1, draw in the highlights.
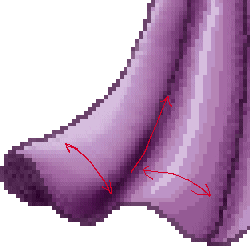
Now with the skirt still selected, take the retouch/ smudge tool. Setting of the smudge tool should be size 5, hardness
40, opacity 23, step 14 and density 76. You may need to adjust the size a bit depending on the area you are working with.
Gently smudge the colors together but do not go up and down. Instead go from side to side on each fold. This gives it the
rounded appearance. You may wish to run the smudge tool up along the darkest areas to smooth. That is up to you.
|
 |
 |
 |
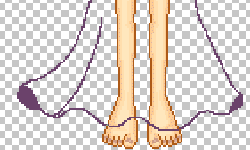
Do not forget to make the hem of the skirt flow and move. This will give your doll an appearance of movement.
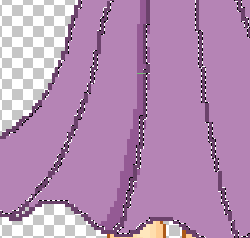
With the inside still highlighted, select the 2nd darkest color from your pallette. With the brush, size 3,
trace around all the areas in the darker color. (The marching ants help you maintain a control over the area already done.)
While doing this, think about where you want the light to be coming from. In my example the light is coming from the left.
So I will shade more on the right side of the folds.
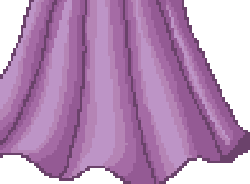
Select the next lighter shade and as before, with the brush at 3, paint along the marching ants
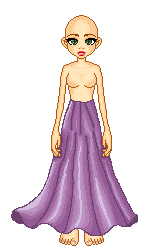
Your doll should look something like this. Now if you want to leave her this way, that is your choice. But I normally go
further.
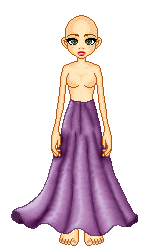
Your skirt should look something like this. If it doesnt, dont worry. Practice and you will find that your eye for folds
gets better all the time.
|
 |
 |
 |
|
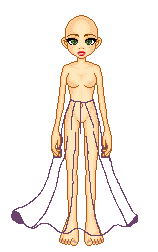
Still with the darkest color, draw in fold lines. Along the hem they will be in the valleys of the ripples.
Don't forget to add fold lines coming from the waist as well.
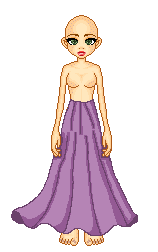
When you are finished, deselect and this is what she should look like so far. Remeber that folds on clothing are
seldom straight lines and will curve along with the fabric.
You now have the shadow areas. Now we need to put in the highlights. Like before, with wand set at RGB value, tolerance
0, select the base color of the skirt. And again, go to selections, modify, select similar. Now select the color in your pallette
one lighter than the base color. With this, paint with brush 3, along the folds where the light would hit it, allowing the
base color to show through in places. You may need to switch to a smaller brush to get into narrow areas.
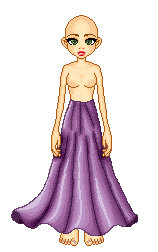
Go to the wand and reset it back to RGB Value, Tolerance 200 and select the skirt layer. Go to the retouch tool. In the
tool options, select Darken RGB, size 9, opacity 32, step 20, and density 32. Now go over the fold lines where the colors
are the darkest. You may need to go over it twice to get the shading you prefer.
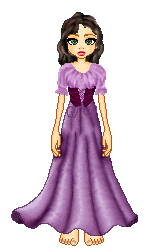
And here is my finished doll. As you can see, I did folds in her top as well as the bodice. The techniques
for both are the same. Play around with it and see what you come up with.
|
 |
|
|
|

